darkFunction to Orx Converter
darkfunction.com is gone. The editor remains on GitHub but hasn’t been updated since 2014.
Please note: For a better, more efficient method of working with sprites and cut ups, consider: TexturePacker.
Tutorial about how to Use TexturePacker to create Animations for ORX: Creating Sprite Sheets for ORX with TexturePacker
For gimp users, this tool will still remain here.
This is a quick and dirty tutorial to show the process of using darkFunction with Orx and why it's useful.
You will need:
- darkFunction http://darkfunction.com/editor/
- darkFunctionToOrx Converter: http://orx-project.org/images/fbfiles/files/DarkFunctionToOrx19.zip
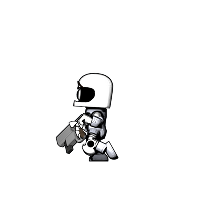
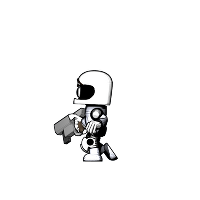
For this example, I have four image files fresh out of my animation program which I want to combine into a run sprite sheet.
The alpha transparent surrounding areas are larger than the sprites themselves.
- Next, fire up the darkFunction editor
- Start a new spritesheet with File / New / Spritesheet
- Click “Combine Images”
- Click the + (Add a sprite image)
- Select the images to include in the sheet
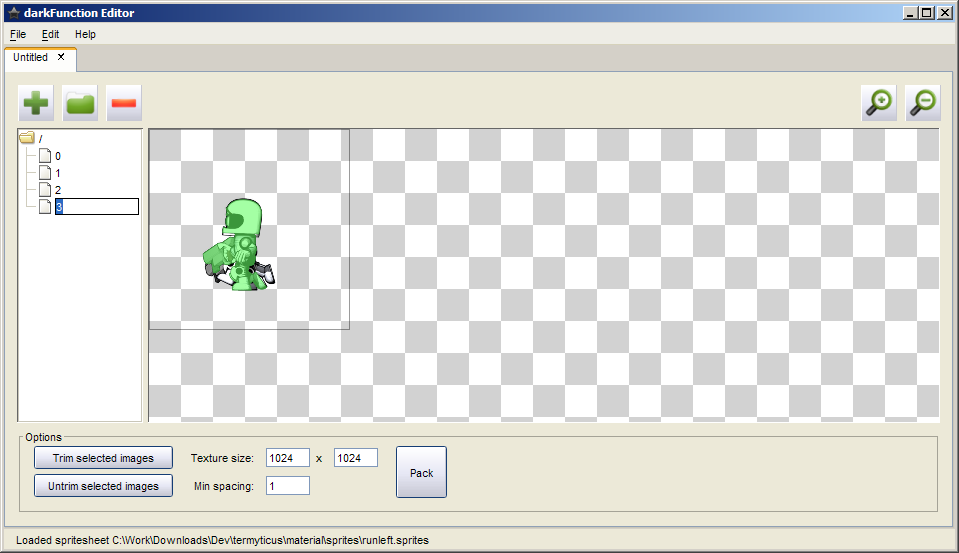
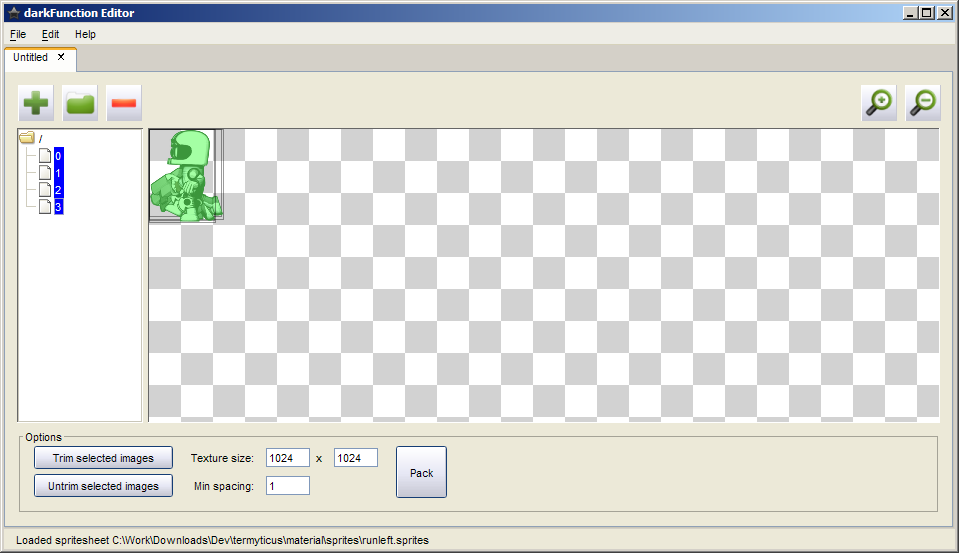
In the above image, you can see that the images start stacked on top of each other and the image is larger than the sprite due to the transparent border.
Select all images, then click “Trim selected images”.
The surrounding unused transparency around the sprites is removed.
Next, estimate the sprite sheet size you need by changing the width and height values and pressing enter. The canvas will resize.
Then click “Pack”.
And this is the result. Nicely packed images. You might need to adjust the canvas size a few times and repeat the packing until eveything is right.
Next, name the animation by double clicking on the “/” at the root of your sprite list. Give it a name like “RunLeft”
Then you can save the final .PNG and .sprite file with File / Save As. Thankfully, the editor will reload these .sprite files for refining if required.
The .sprite file will contain something like the following:
<?xml version="1.0"?>
<!-- Generated by darkFunction Editor (www.darkfunction.com) -->
<img name="runleft.png" w="282" h="100">
  <definitions>
    <dir name="RunLeft">
      <spr name="0" x="1" y="1" w="72" h="87"/>
      <spr name="1" x="74" y="1" w="65" h="91"/>
      <spr name="2" x="140" y="1" w="74" h="90"/>
      <spr name="3" x="214" y="1" w="66" h="93"/>
    </dir>
  </definitions>
</img>
Next, create a new animation, and import your sprite sheet file. Refer to the darkFunction instructions for using the animation editor, however, ensure that the “/” is renamed to your animation. If you are creating multiple sprite layer animations, ensure you create your sub-animations is a proper organised fashion such as:
 RunLeft
 -- Head
 ---- 0
 ---- 1
 ---- 2
 -- Body
 ---- 0
 ---- 1
 ---- 2
 -- Arms
 ---- 0
 ---- 1
 ---- 2
To convert this quickly to something you can use in orx, fire up the converter.
- Browse to the .anim file to convert (the .sprite file will be used automatically)
- Choose either convert direct to the clipboard or to an ini file fragment.
The output will be something like:
[RunLeftGraphic]
Texture = ../../data/anim/runleft.png]
Pivot = top left

[RunLeft1@RunLeftGraphic]
TextureOrigin = (1, 1, 0)
TextureSize = (72, 87, 0)

[RunLeft2@RunLeftGraphic]
TextureOrigin = (74, 1, 0)
TextureSize = (76, 85, 0)

[RunLeft3@RunLeftGraphic]
TextureOrigin = (151, 1, 0)
TextureSize = (77, 86, 0)

[RunLeft4@RunLeftGraphic]
TextureOrigin = (229, 1, 0)
TextureSize = (78, 90, 0)

[RunLeftAnim]
KeyData1 = RunLeft1
KeyData2 = RunLeft2
KeyData3 = RunLeft3
KeyData4 = RunLeft4
And now you can cut and paste into your orx config.


